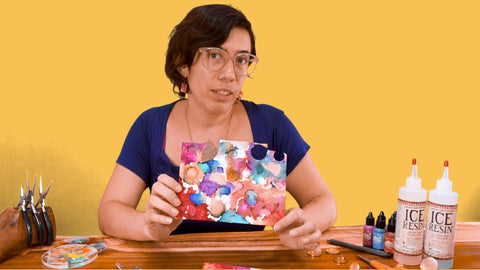
Turn your alcohol ink doodles into wearable jewelry! We use basic tools to create art jewelry, using bezel cups, resin, and our art. Watch and learn all the tips you need to start making really unique jewelry with a big pop of color! personalize to make gifts for friends and family.
Today we will be doing a project I am very excited about! I love to doodle and play with alcohol inks, it's fun and relaxing, and I find it to be a real mood booster. I've always wanted to do more with my doodles, with resin we can turn them into wearable jewelry!
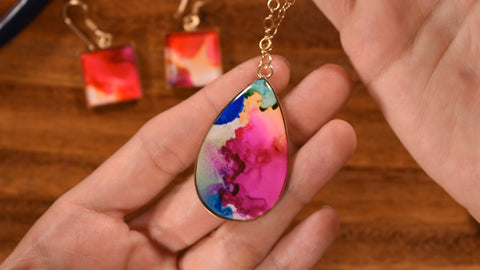
Here are some examples of the jewelry you will be able to make after watching this video.
If you've worked with resin before you will have most of the supplies needed for this project. Especially if you've done a petri dish project.
We use basic tools: your favorite brand of resin. Alcohol inks, we use Jim Holtz, by Ranger. Mixing cups and a stirring device. A silicone work mat is nice but use whatever you have around to keep your work surface clean. Scissors Microperm pen to add designs. Isopropyl Alcohol. To paintbrush. Yupo or Pixxus paper.
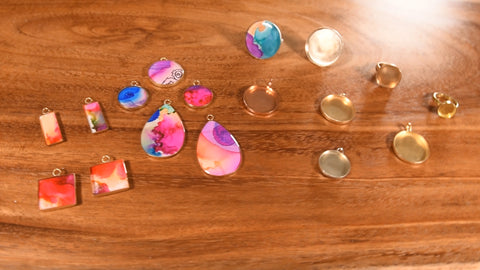
Bezel cup settings made by SupplyDiva, we offer these settings for pendants , earrings, and rings. We produce these in copper, brass, bronze, and nickel silver. They are high quality, sturdy findings. You can find the link to purchase our bezel cups in the description.
We are going to use Pixxas paper for this project, as it is much more affordable than Yupo. I will say it helps a lot if you paint on a light layer of isopropyl alcohol first. I've found that without this layer my colors don't really want to spread out and react with one another.
How you doodle and what you doodle is really up to you, you can always reactivate your inks with a paintbrush or spray bottle of alcohol. It's a lot of fun watching what the inks do and how they react.
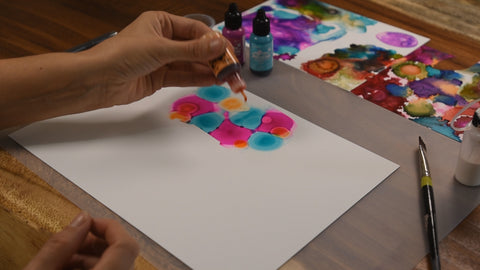
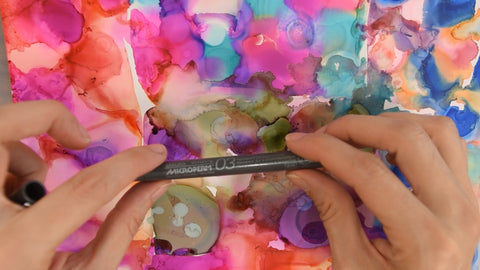
Also if you want to draw on your work once it has dried, you can try a micron pen, it won't cause the inks to reactive. So once you have finished and you are satisfied with your work, allow it to fully dry. This doesn't take long thanks to the fact that the alcohol evaporates quickly.
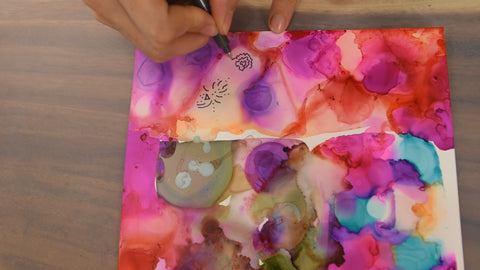
I've chosen part of my doodle and will trace around the edges of the bezel setting. Keep in mind you will be cutting inside your lines. More trimming will be required to make the piece of paper fit.
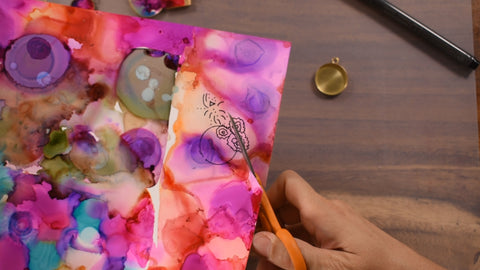
We tried using paper cutters, but do not recommend this, Pixxus and Yupo are plastic papers, our cutter ended up jamming and damaging our work.
Your bezel settings should arrive clean and ready to use. If any oxidation has occurred you can clean them up with a polishing cloth, very fine finishing steel wool, or a very fine finishing sandpaper. If you are going to make a ring you might want to lacquer it before you set it with resin. A layer of lacquer will prevent your metal from oxidizing, but I personally love the patina metal develops over time!
Now we are ready to mix our resin, we have a video just about mixing resin for jewelry. This brand is a 1:1 ratio, so we just mix for 3 minutes, and then let it rest. (a small butane torch is optional to remove bubbles, we have tried a heat gun and didn’t like it, heat guns really move your resin around, and we almost had some go over the sides of our bezels. A butane torch is much nicer to work with)
Once your resin is ready we put a drop down onto the metal first, then we carefully place the cutout mini art on top, pressing down gently and turning to remove any bubbles.
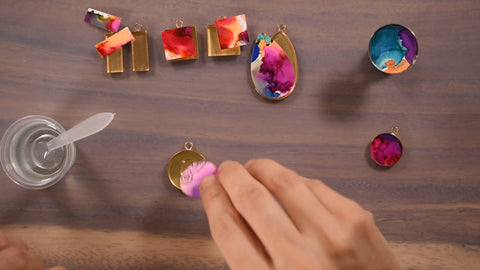
Slowly fill the bezel with resin, I try to do this slowly to avoid any bubbles. I like to add a lot of resin to these to get a domed look, if you do the same just be sure not to overdo it! Have a paper towel damp with isopropyl alcohol ready in case you spill and need to clean up your sides.
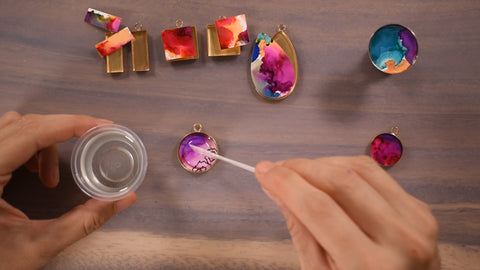
Now we wait! We waited a whole day for these beauties, but it was well worth it! I absolutely love how the inks look under the resin, and it’s nothing like the petri technique. You have a lot more control of the outcome. This is a great way to add a big pop of color to metal jewelry.
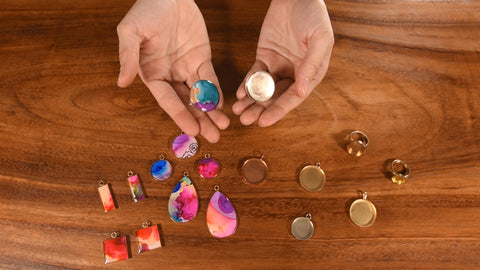
For pendants you can string them on cord or a chain, you might need a jumpring depending on the style of bezel. Small settings can be put onto earwires and they are ready to wear!